How to Avoid The Most Common Problems When Anchoring Metal Railings Into Stone and Concrete Steps
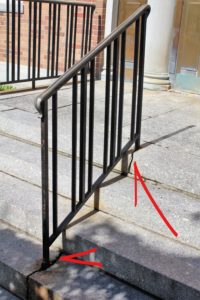
The very first part of a building that we may touch as visitors is the handrailing, even before the door hardware. For the Architect or Builder or Stone Mason, upon return to a former project site, the shock of seeing a railing like this, literally tearing apart the masonry fabric they so carefully planned and laid, is almost too much to bear.

Douglas Bracken
President | Wiemann Metalcraft

It seems simple enough, core drill a slab of solid stone or concrete, install post with anchoring grout, prop it up until the cement sets and move along. What could go wrong? Well, lots as it turns out, and water, the usual dastardly suspect in these kinds of matters, reappears for this episode too.
Now for the solution: Your first line of defense is to hire an excellent metal fabricator with a reputation for quality installation work. These firms have trained their installers to be wary of the pitfalls that create the kinds of issues we see here above. Paying more upfront, often yields much lower long-term cost of ownership benefits! If for some reason that is not possible, then here are the top issues to be mindful of when setting posts into masonry whether you do it yourself or oversee the work done by others.
1. Core Drill a hole that is as small as possible to accommodate the size of the post and make sure that it is at least 3" from the edge of the masonry to the edge of the hole. Edge distance is key, too close, and the strength of the stone is compromised by the lever actions of the railings. A 1" square post would fit neatly into a 1.5" round hole for example with just enough room for grouting.
2. As the post is inserted into the hole, hard shim the post against the sides of the hole using metal shims in a way that won't impede the flow of the anchoring grout. If this is done properly, the railing will feel firmly "set" even before grouting. This step will also help if the post is much smaller than the hole provided. By bonding the metal to the masonry step in this manner, the stresses of vibration and movement are transferred directly from metal to stone in the hole, which allows the anchoring grout to function mainly as a waterproofing agent.

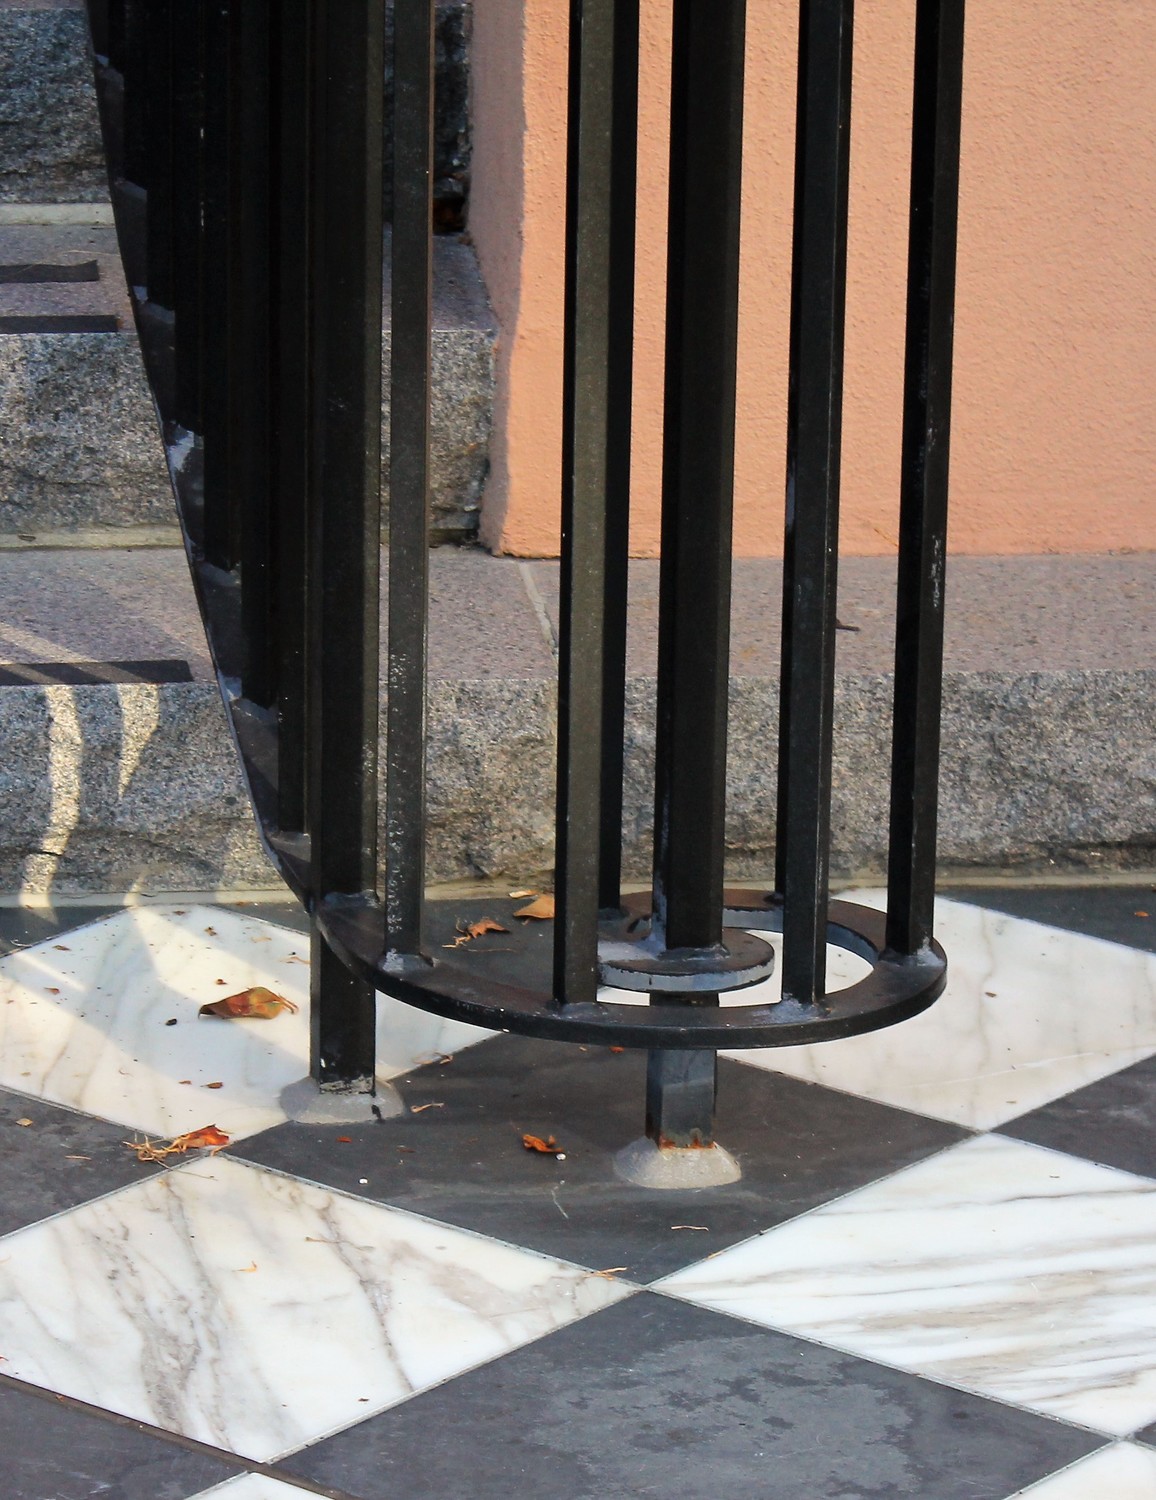
4. Top up and mound the grout around the base of each post 5-15 minutes after the first pour. This mounding effort is key to shedding water away from the post and waterproofing the hole. Pourable anchoring grouts all say they are "non-shrink" but the truth is that they all shrink a little or a lot as the water in the mixture evaporates as they set. When this happens in a post hole, the grout shrinks into the hole and it creates a cup which becomes a reservoir that holds water on top of the cement and against the bottom of the post. This is bad for the post and accelerates the demise of the grout. This is probably the most common mistake in all the steps illustrated here above.

<< This image shows the problem created by not mounding the grout. The grout shrinkage creates a retaining pond around the base of the post which compromises the longevity of the grout and the post. Standing water on the grout will damage it and allow for water penetration into the hole which will fracture masonry steps with freeze thaw cycles. <<

Hopefully this will inform your next project and provide guidance for specification writers and metal fabricators alike. Railings anchored in this manner will outlast railings set in anchoring grout only and will protect the substantial investment in masonry over the same extended time by keeping water away from the holes.
